
Appearance
The Editor
The editor is where you write. It styles your text in place as you type — headings scale, emphasis renders, links show as names — while the file underneath stays plain text you could open anywhere. The tab above the text names the document you're in, and marks unsaved changes with a * after the name.
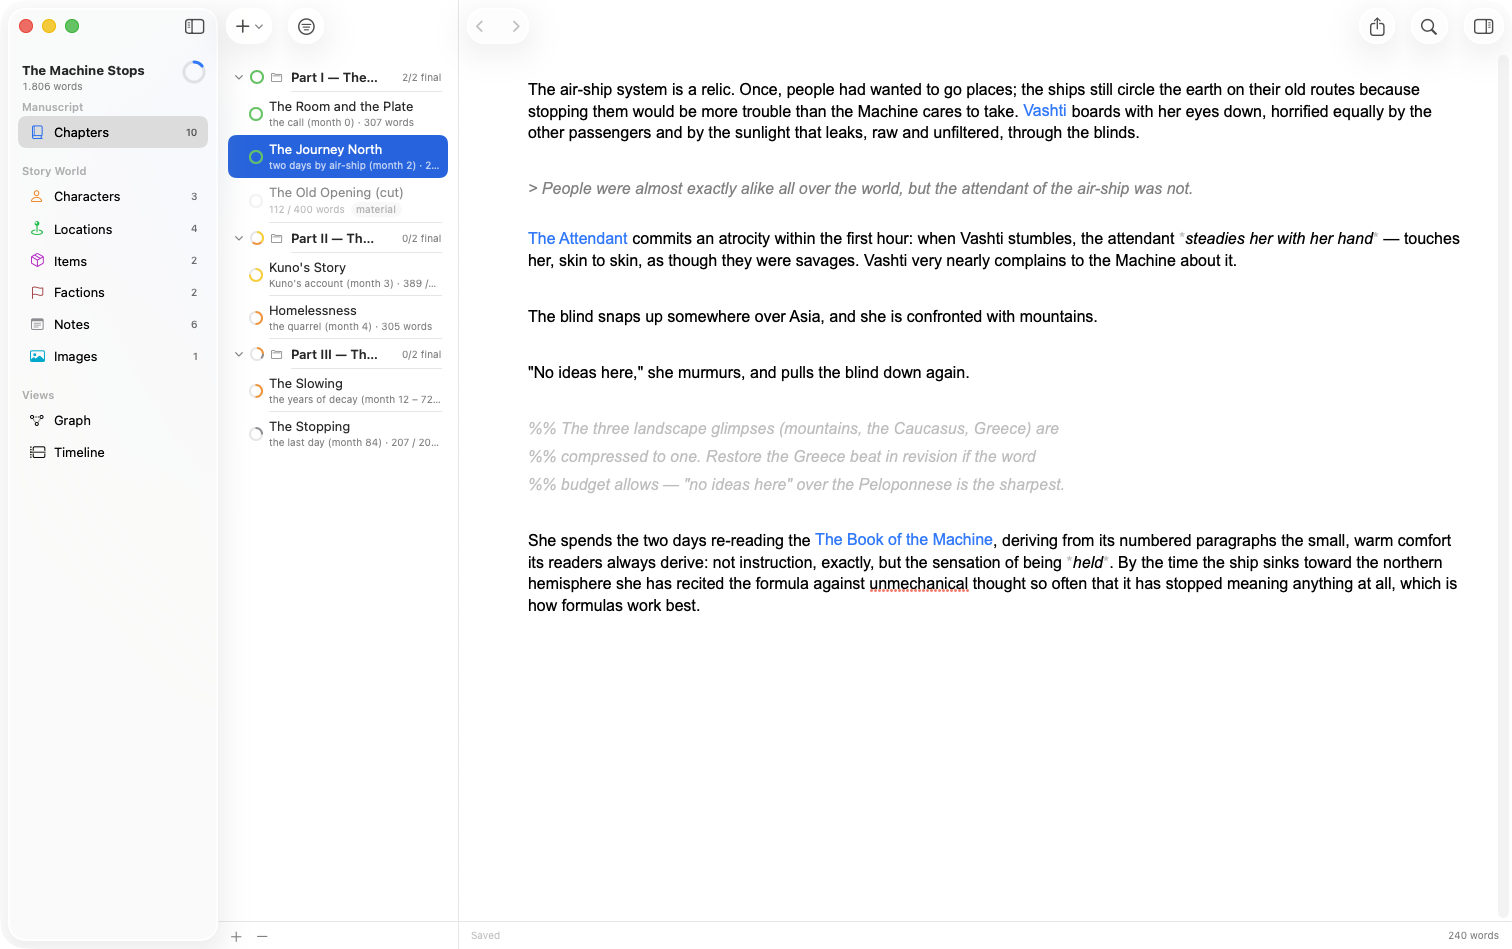
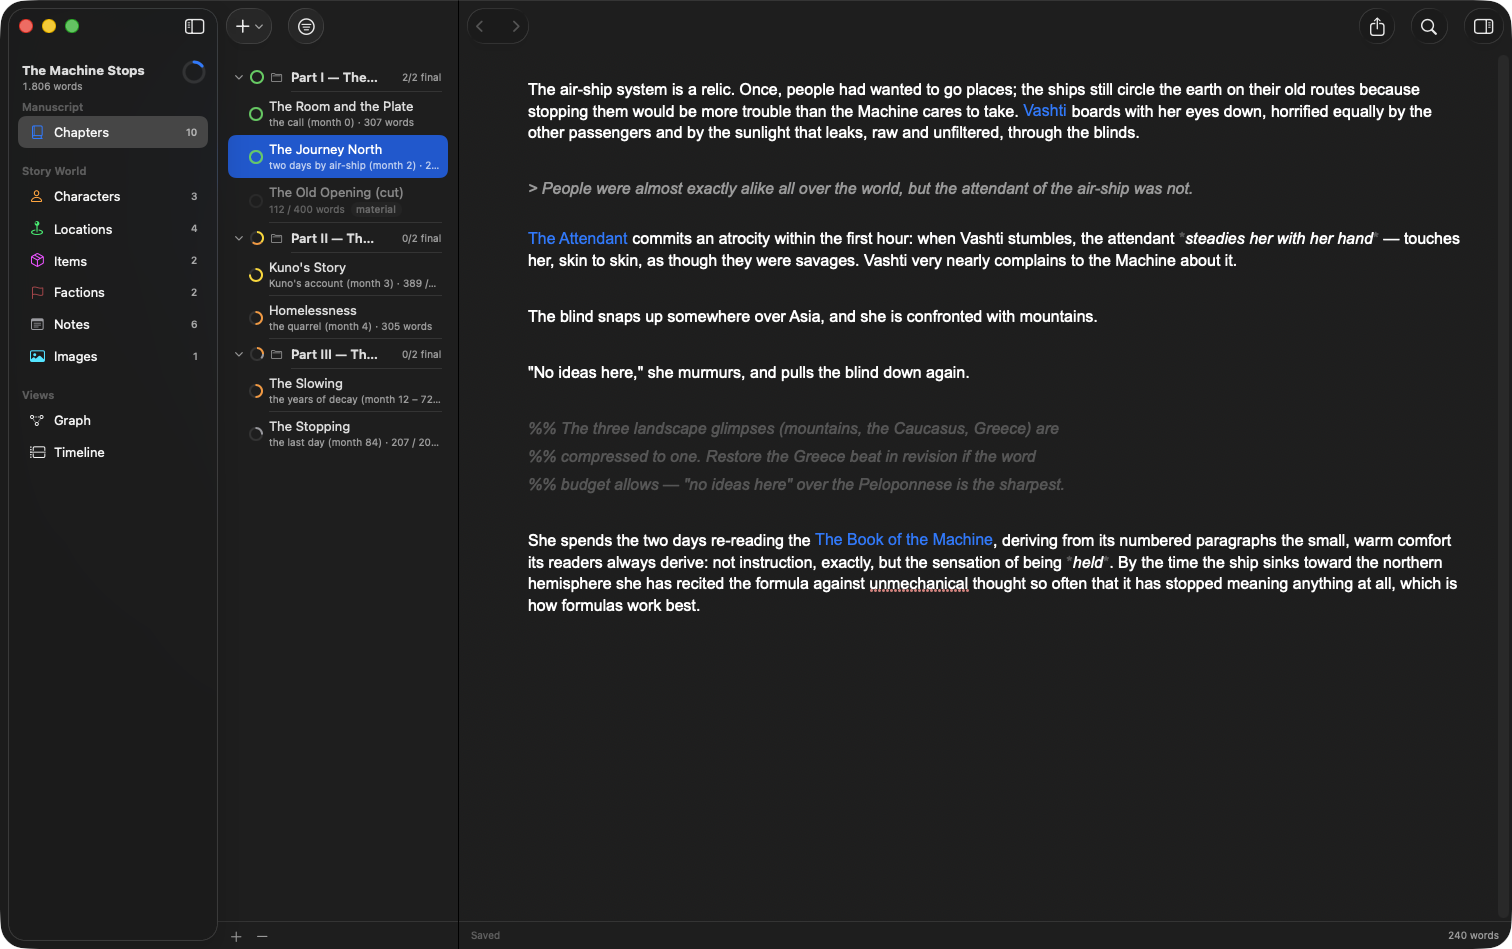
Styling as you type
Formatting uses lightweight marks that stay visible (dimmed) while the styled text reads like the finished page:
| You type | You get |
|---|---|
# … ###### | Headings, scaled by level |
**bold** | bold |
*italic* or _italic_ | italic |
~~strikethrough~~ | |
> quote | a quotation block, set off by its own indent |
- item / 1. item | bulleted / numbered lists |
%% note to self | a private comment — dimmed here, never exported |
You don't have to type the marks. The format buttons above the editor style whatever is selected — headings, bold, italic, strikethrough, code, lists, quote, and comment, one click each.
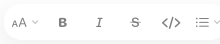
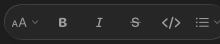
The Markup menu applies the same styles — Bold ⌘B, Italic ⌘I, Comment ⌘/ — and the right-click menu carries a Format submenu too.
Three views of your text
The switcher in the toolbar shows which view you're in and flips between them: live styling (the pencil — where you write), a clean reading preview (the eye), and the raw text (the brackets). The view belongs to the pane you're working in, so with the editor split you can read one document while writing in the other. Every launch starts in live styling.
Preview
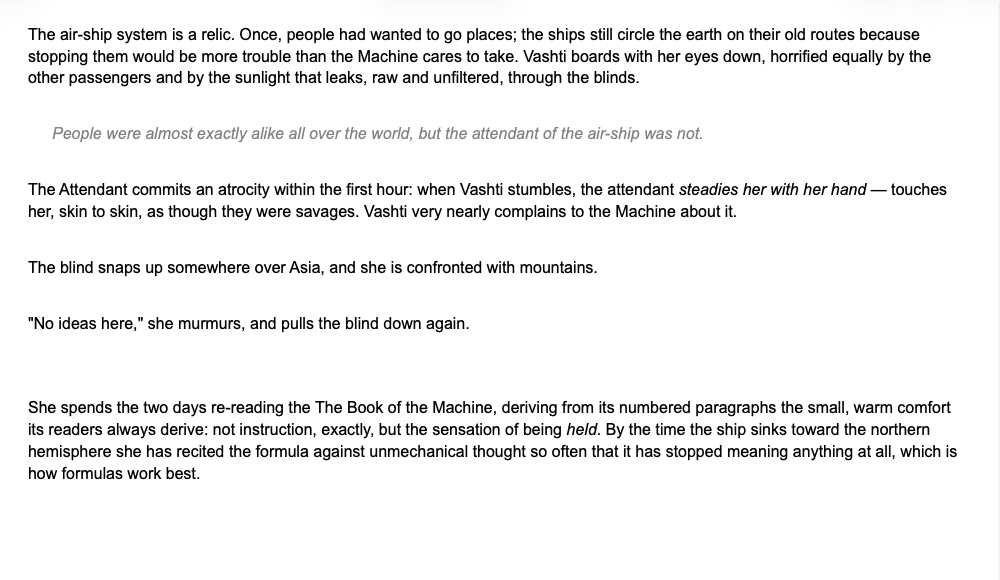
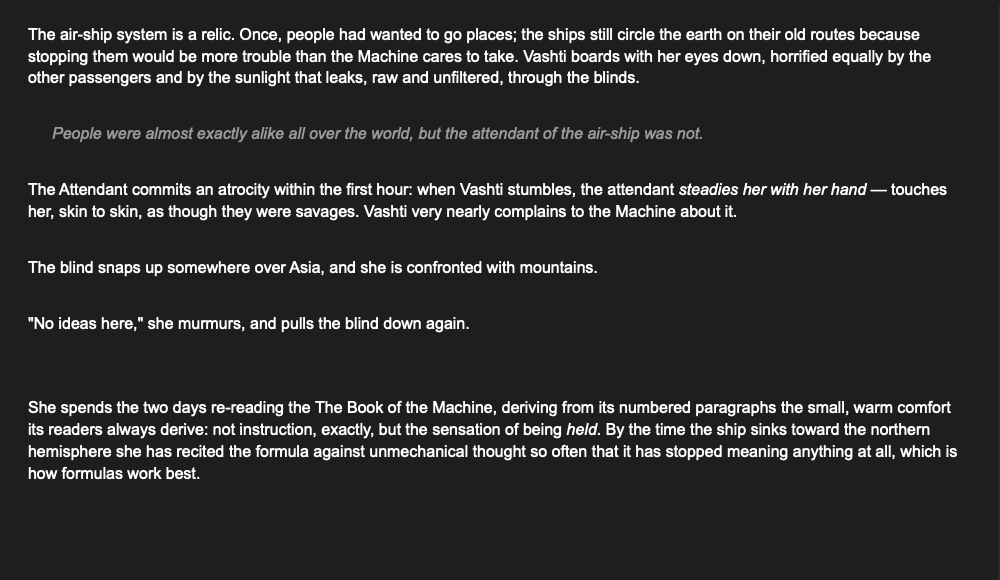
View → Preview ⌘⇧P — or the eye in the switcher — shows the document as it will read on the page: the formatting marks disappear, links read as plain names, and pictures sit in place. It's a reading view — the text can't be edited until you switch back (press ⌘⇧P again).
Raw markdown mode
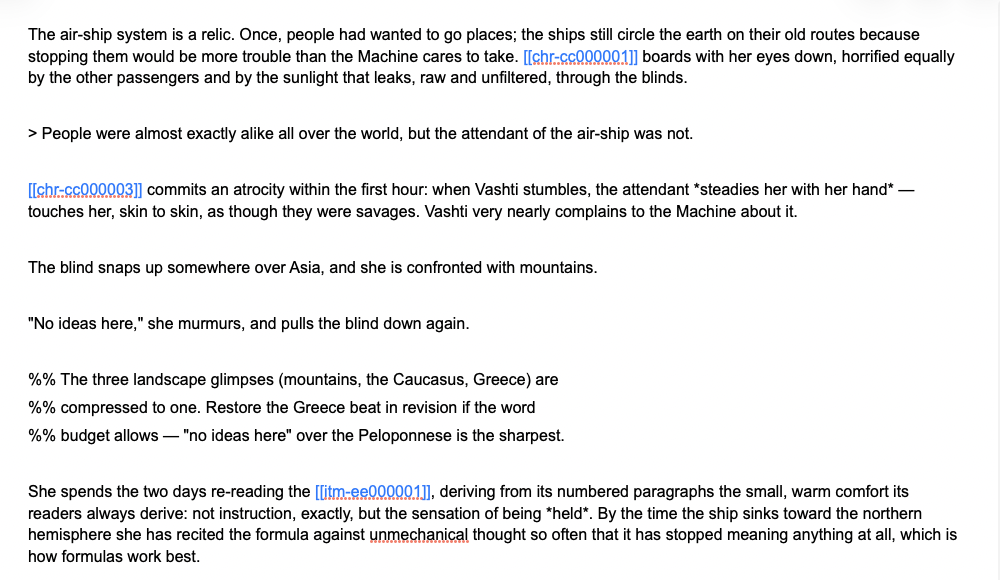
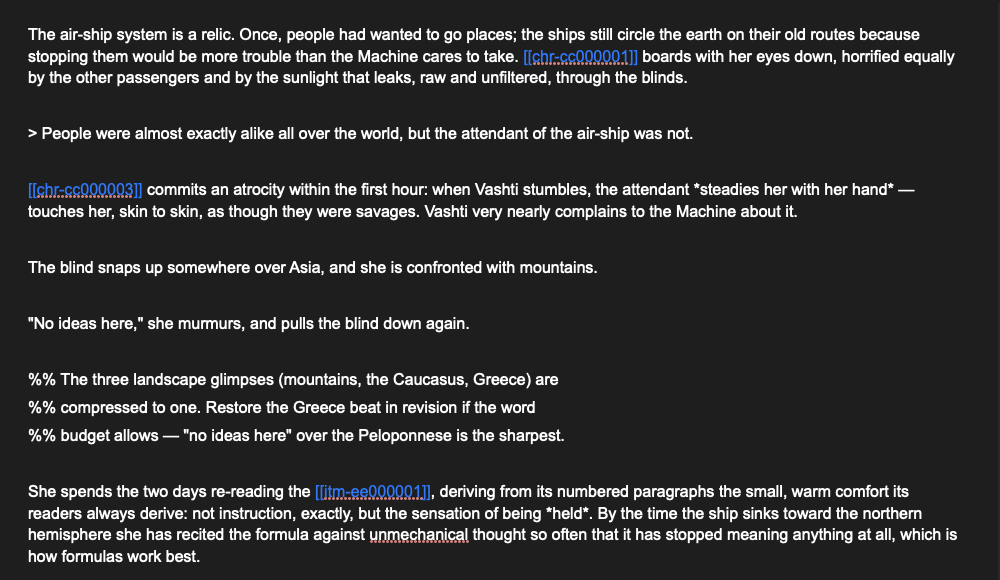
View → Raw Markdown ⌘⇧R — or the brackets in the switcher — turns the live styling off and shows the text exactly as it sits in the file — including links as their underlying tokens (colored; red when pointing at something deleted). Everything stays editable; use it when you want to see or work on the plain text itself.
Font & line height
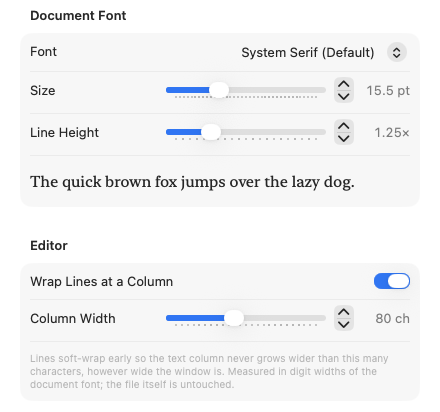
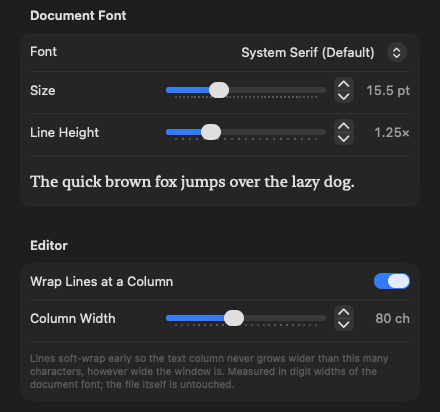
The document font, size, and line height are set in Settings ⌘,, with a live preview. The default is the system serif at 15.5 pt. Your choice follows your story everywhere it's read: the editor, Preview, glance panels, and the export preview and PDF.
Wrap column
By default a line of prose runs the full width of the window, which on a wide screen makes for a long, tiring line. Turn on Wrap column in Settings and the text wraps at a set number of characters instead — 80 by default, anywhere from 30 to 150 — however wide you make the window. The text simply sits in a column of that width; the window's extra space stays empty.
This changes nothing in your file. The line breaks are drawn, not typed: the paragraph is still one long line on disk, exactly as it was.
Because the document font is proportional — an "i" is narrower than an "m" — "80 characters" can't be exact. The column is measured in the width of a digit in your current font, so a line of narrow letters fits a few more characters than the number says, and a line of wide ones a few less.
Line numbers
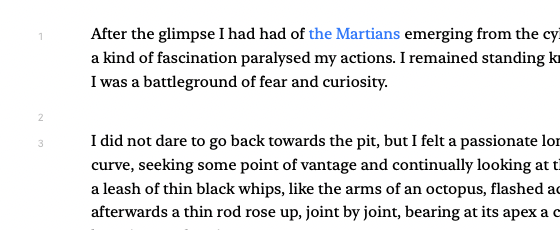
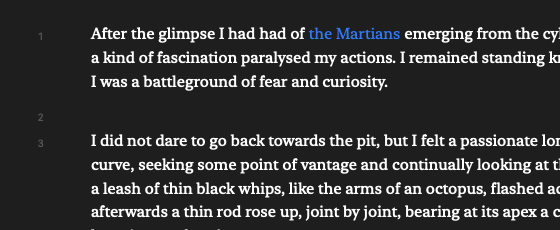
A narrow gutter down the left edge numbers the lines of your document — useful for talking about a passage with an editor, or finding your way back to a spot you noted down.
The numbers count the lines as they are in the file, not as they happen to wrap on screen: a paragraph that fills four lines of the window is one numbered line, and the wrapped continuations are left unnumbered. Resize the window and the numbering doesn't change.
The gutter shows in live styling and in raw text. It's absent from the reading preview, and it's hidden in Hide Interface — the point there is to have nothing but the words.
At the other end of the pane, the status bar shows where your cursor is as Ln 48, Col 1 — the same line count as the gutter, and the column in characters as you'd count them.
Settings also holds the timeline's handling of empty stretches. All of these are app-wide preferences, not part of any one book.
Links
- Type
[[to open the popup — everything in your book, grouped by kind. Pick one and the mention appears as its name in the accent color. - Rename the entity any time; every mention follows. Click a mention to peek at what's underneath; press delete once to remove the whole link.
- Want your own wording? A link can display any text — "her brother" — while still pointing at the right character.
- ⌘-click a link to jump to what it names; ⌘[ and ⌘] walk back and forward like a browser.
- Right-click → Insert Reference is the menu-driven alternative to typing
[[. - Or drag one in from the list: switch the sidebar to Characters (or any other kind — your document stays open), then drag a name from the list into your text. The cursor follows the drag so you can see exactly where the mention will land; drop it and it appears as the name, linked like any other mention.
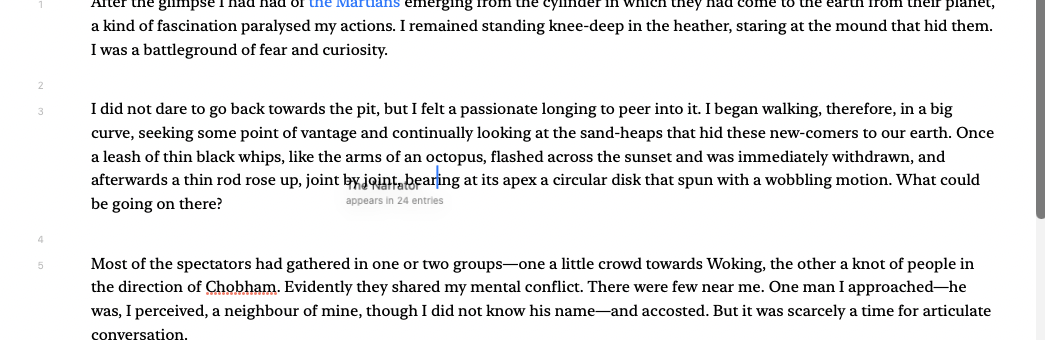
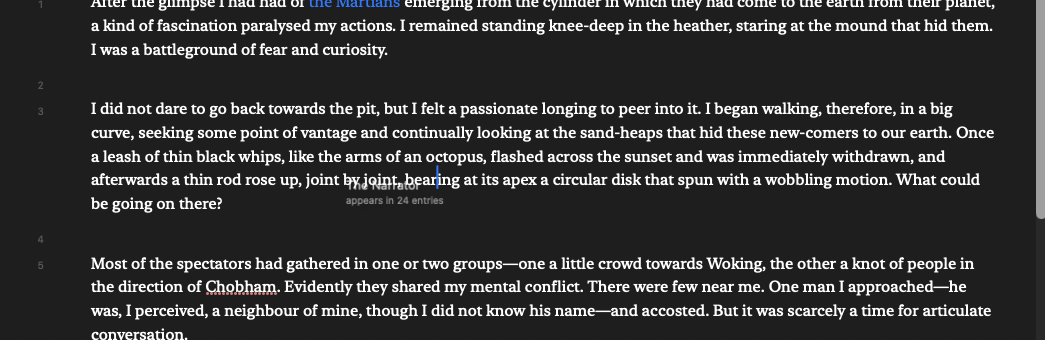
Quick insert
Press ⌘K and a search field opens over the window. Type a few letters and it offers matching people, places, chapters, notes — press Return and the mention lands at your cursor. It's the fastest way in when you already know who you mean.
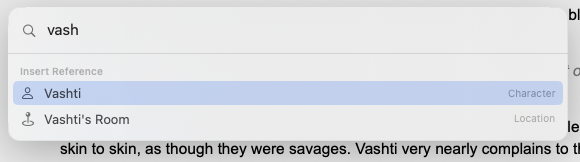
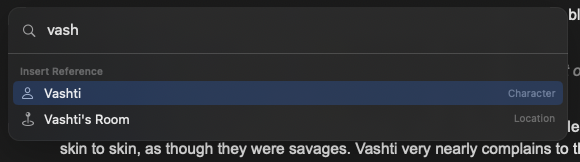
Narrow the search to one kind by starting with its name and a colon: Characters: vash searches only characters. You don't have to type the whole word — char: vash works too, and the palette offers the prefixes for you: with the field empty it lists every kind, and picking one fills the prefix in.
The same field runs commands. Type bold, heading, export, timeline — anything you'd otherwise hunt for in a menu — and the matching action appears, with a note of which menu it also lives under. Which actions are offered depends on where you are: the formatting commands only show up when there's text to format.
With no text to insert into — in a graph or timeline tab — the same shortcut becomes a document jumper: type a name, press Return, and that document opens.
Esc, or a click outside, closes the field without doing anything.
Images
Drag a picture into the editor and it lands where you drop it:
- The picture is copied into the book, so the book folder stays complete and portable. Dropping the same picture twice never stores it twice.
- The picture becomes an entity of its own — its name is the caption-like label you'll see wherever it appears, editable like any name.
- In the text, the picture shows right in place. Like other links, it's one unit: click to see what's underneath, delete once to remove.
- To place an already-imported picture, type
[[and pick it, like linking anything else. - A picture entity can carry its own notes — sources, art direction, caption drafts — which stay with the picture and never leak into your chapters.
- Pictures appear in the graph, connected to every document that shows them.
- On export, pictures travel with the manuscript; a PDF renders them in place.
To swap a picture everywhere at once, replace it on the picture's own entity in the inspector — the layout, label, and placements all stay.
Writing modes
All in the View menu:
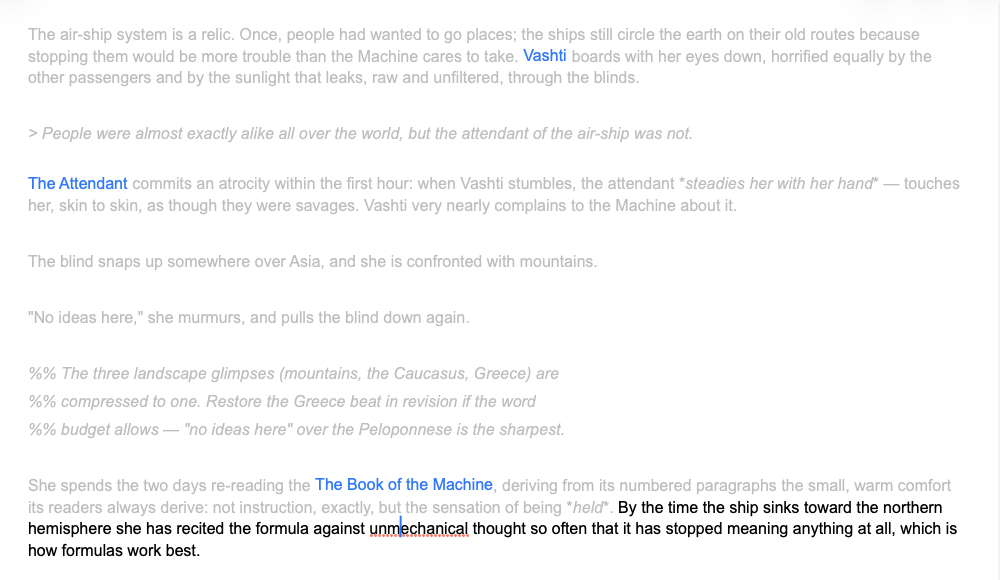
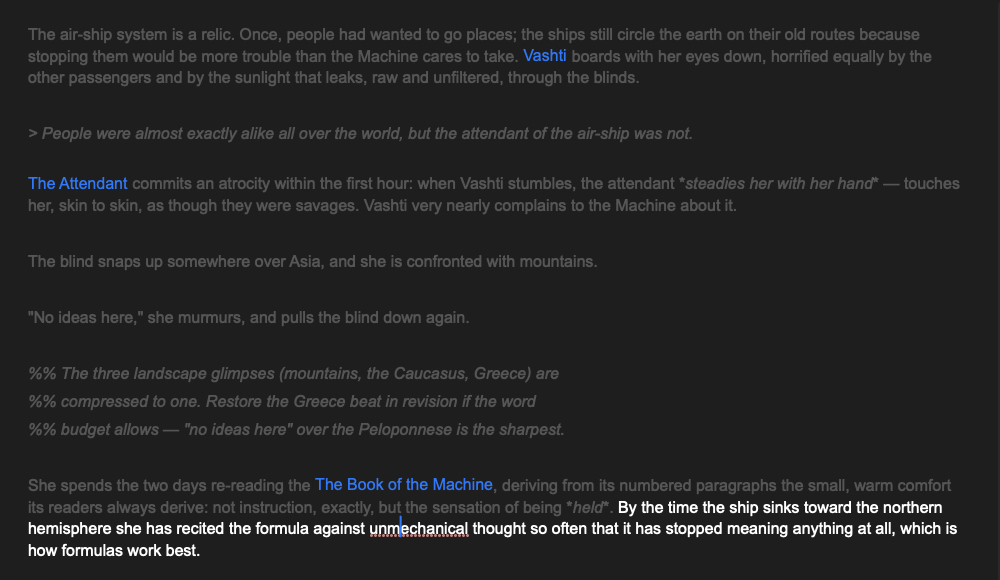
- Highlight — dim everything except what you're working on: the current line, sentence, or paragraph. Below: sentence focus.
- Fixed Scrolling — typewriter mode: the line you're working on stays at a fixed height on screen — a quarter of the way down for Top, halfway for Center, three quarters for Bottom — and the text moves under it, instead of your eye travelling down the page as you write. It holds that line whenever the cursor moves, whether you got there by typing, by an arrow key, or by clicking; scrolling by hand is never fought, and selecting a stretch of text leaves the view where it is.
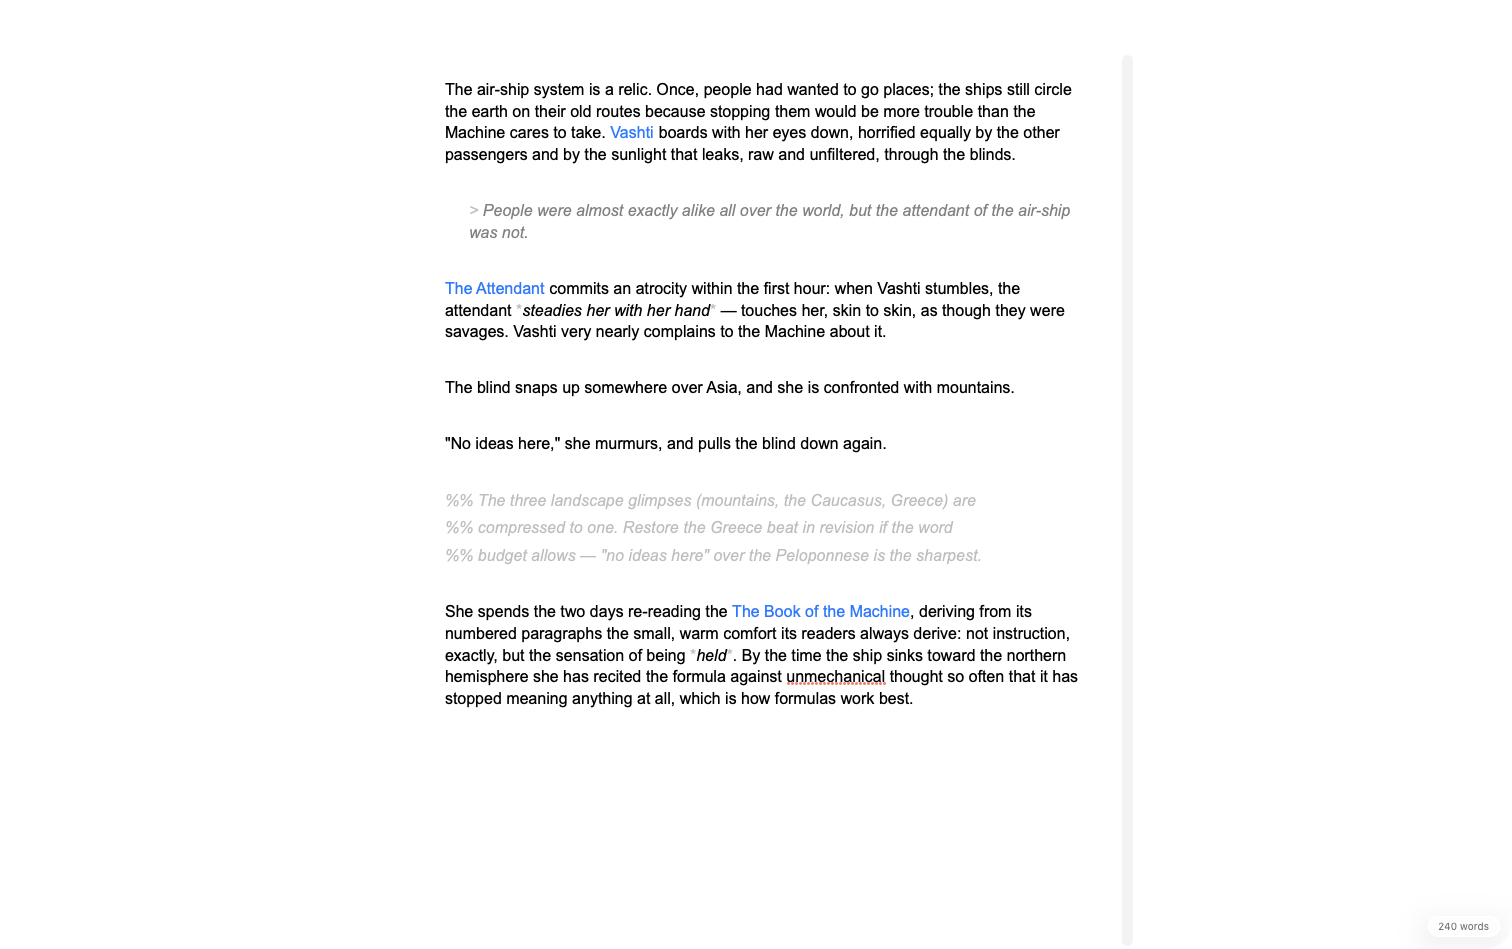
- Hide Interface ⌘. — distraction-free writing: a centered column of text and a floating word counter, nothing else. Press it again to come back.
Tabs and split editors
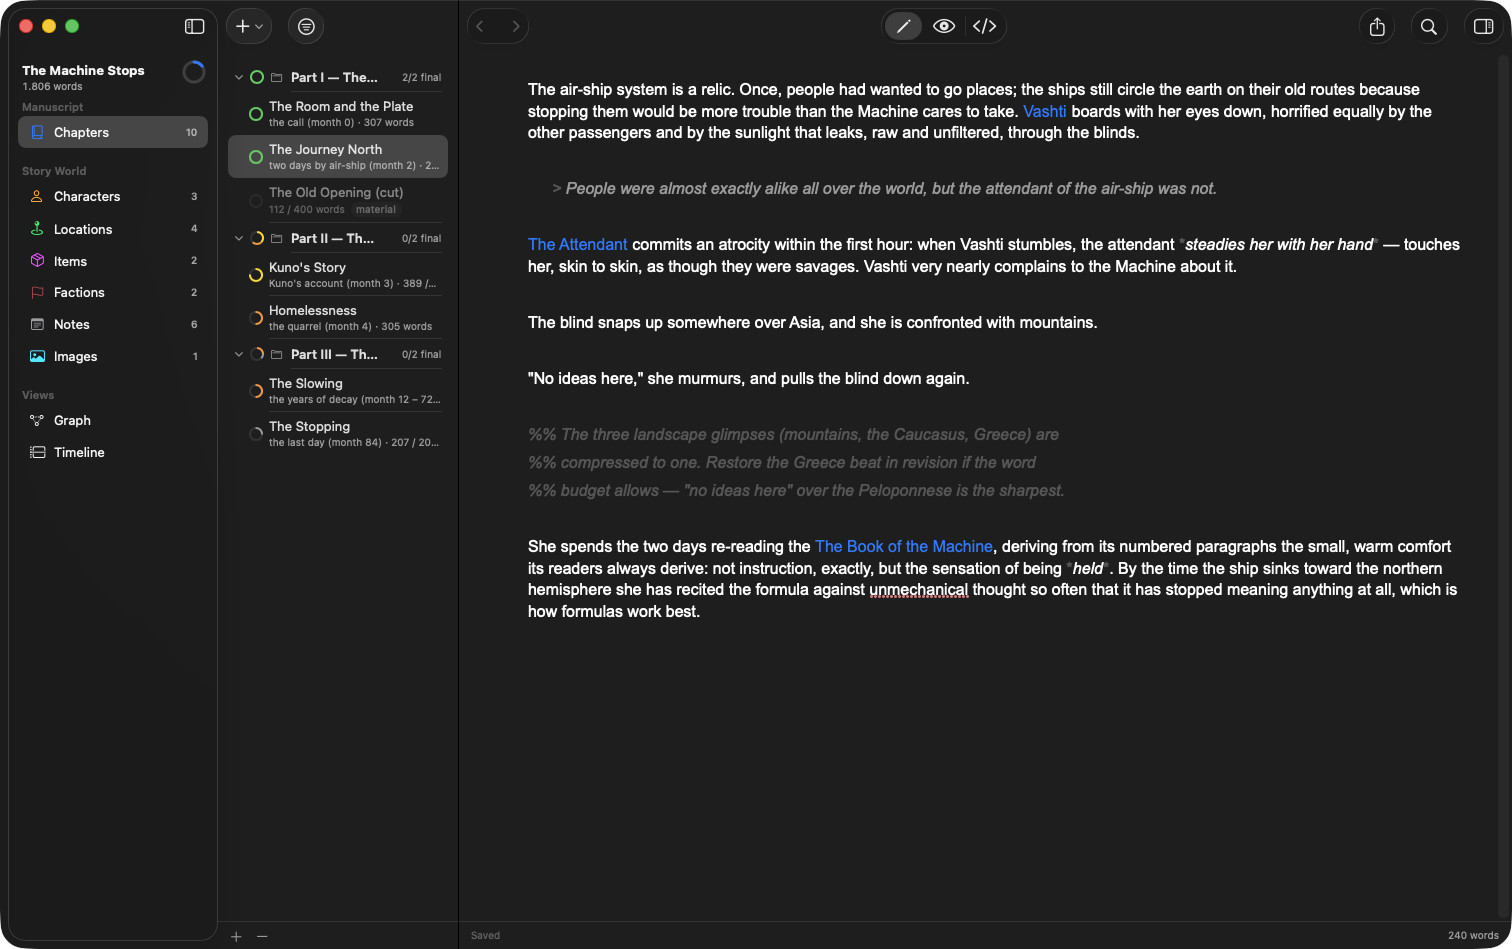
Documents open in tabs, and the editor area can be split into as many panes as you have room for — the same way a code editor works, but for chapters.
Tabs
Click a document in the list and it opens as a tab in the editor. Click another and it replaces that tab rather than adding one: a tab you've only glanced at shows its name in italics, and browsing the list never leaves a trail of tabs behind. Double-click the row — or type in it, or use Open in Tab from its right-click menu — and the tab is yours and stays put.
Each tab shows the document's icon, its name, an * while it has unsaved changes, and a close button. ⌘W closes the one you're in; ⌘⇧] and ⌘⇧[ step through them.


Dragging tabs
Tabs move by hand:
- Along the strip to reorder them. A blue line shows where the tab will land.
- Onto another pane's strip, or anywhere in another pane, to move it there.
- Onto the edge of a pane — the outer quarter, top, bottom, left or right — to split that pane and drop the tab into the new half. The half that will open is highlighted while you hover, so you can see the layout before you commit to it.
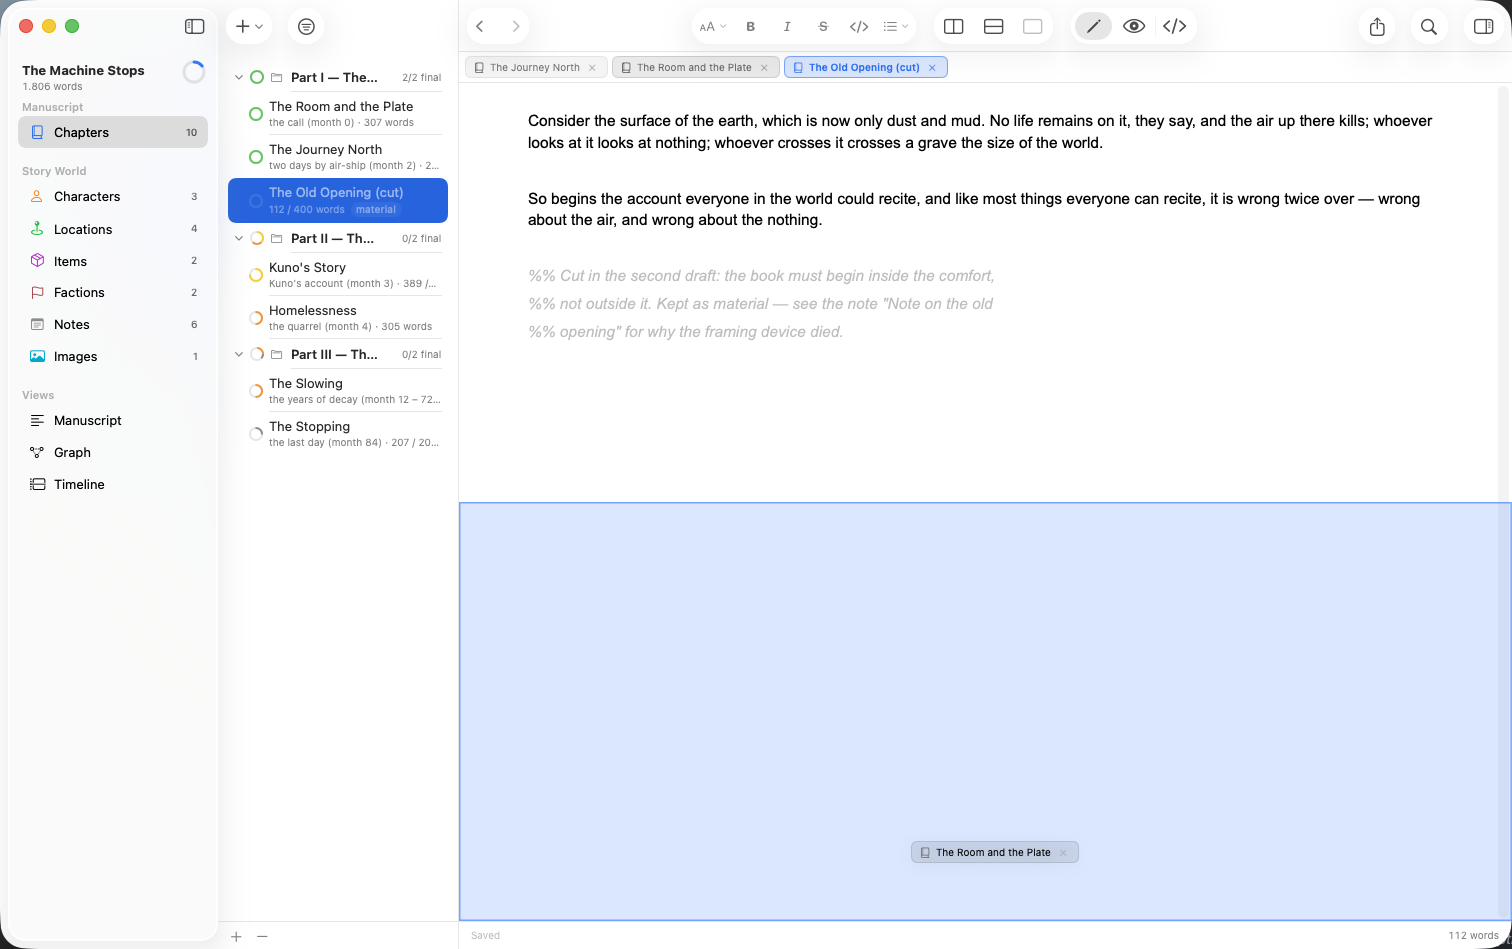
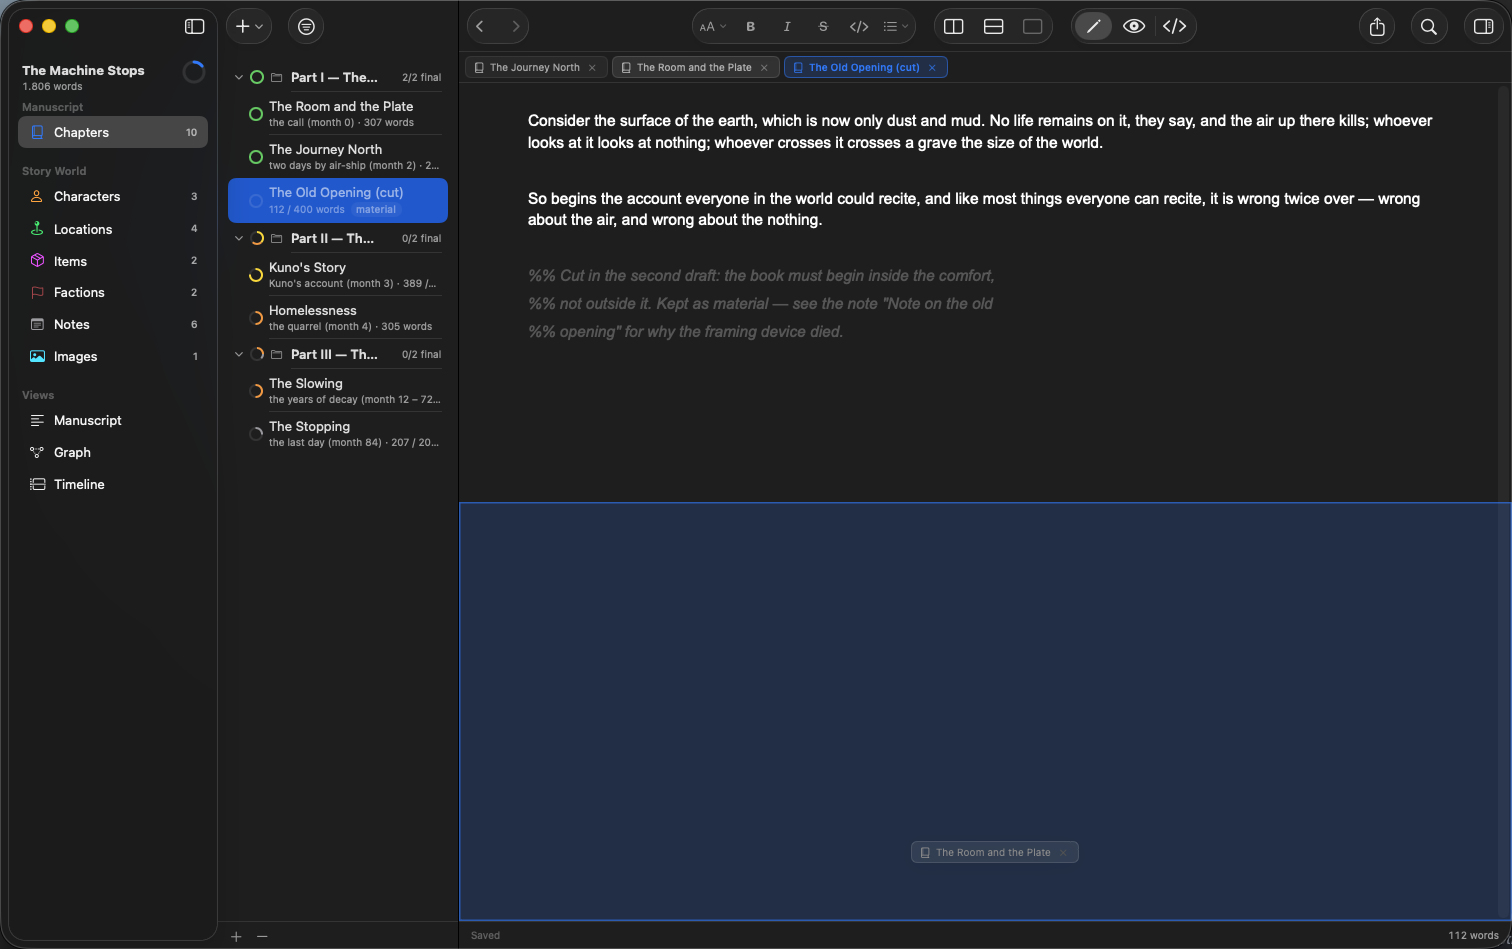
Dragging a tab always keeps it: a document you bothered to move somewhere is no longer provisional. Drag a pane's last tab away and the empty pane closes behind it.
Documents can be dragged in from the list, too: drop one on a pane's tab bar and it opens there. (Dropped into the text instead, the same document becomes a link — the tab bar opens, the page mentions.)
Splitting


Editor → Split Right ⌘⌥→ and Split Down ⌘⌥↓ divide the pane you're in; the toolbar has a button for each, and a third that closes the pane you're in again. The new pane starts on the same document, so the usual next step is to open something else in it — or to leave it, and read the same chapter in two places at once. Dragging a tab to a pane's edge (above) does the same thing in one gesture.
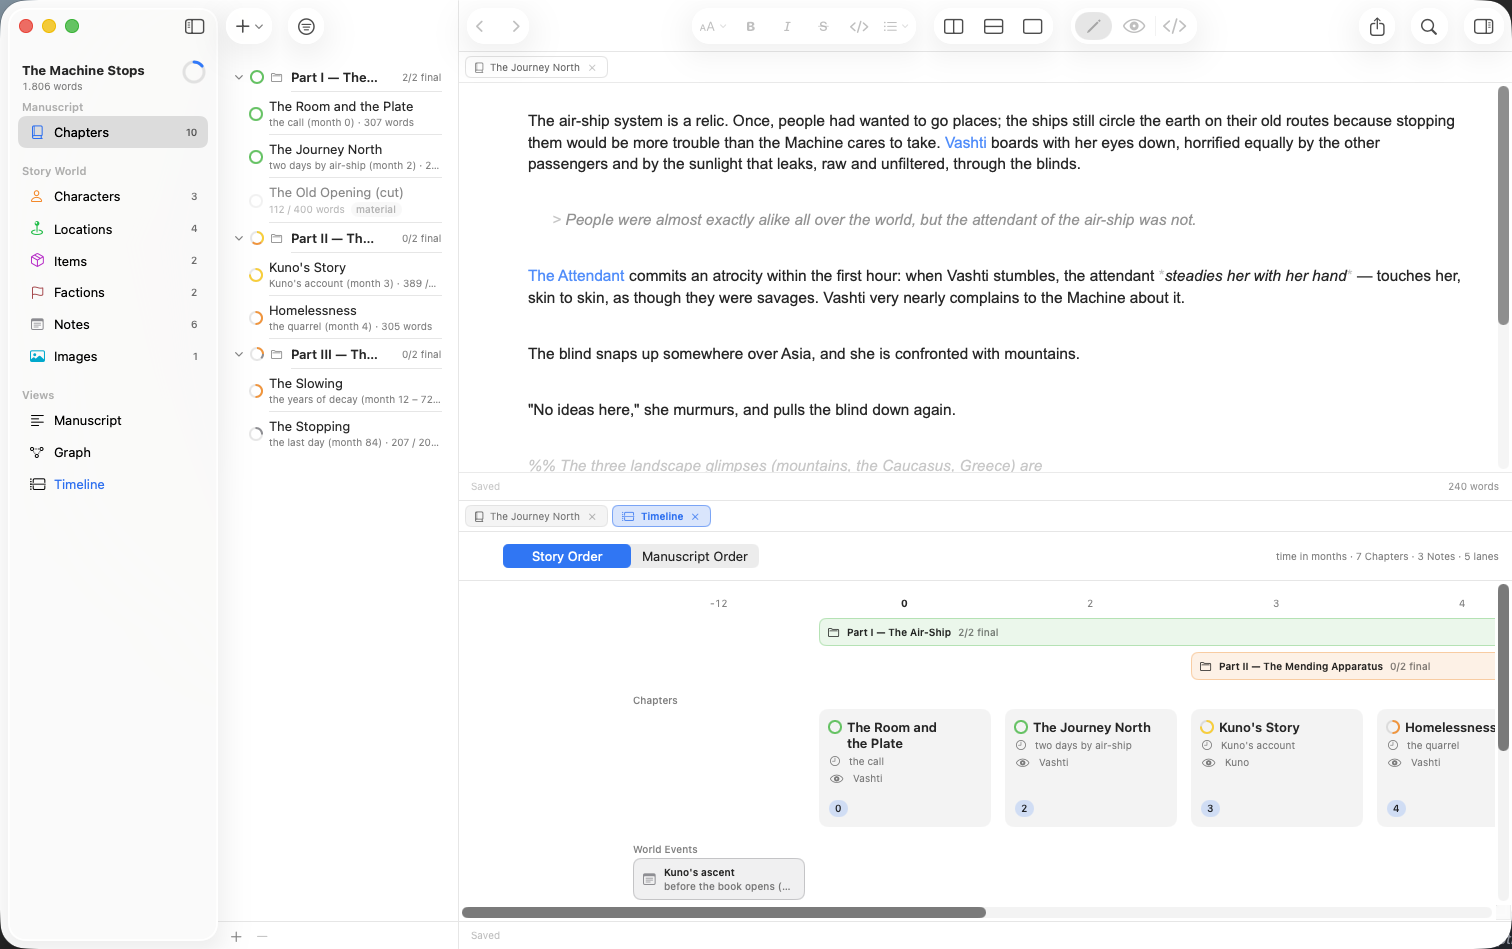
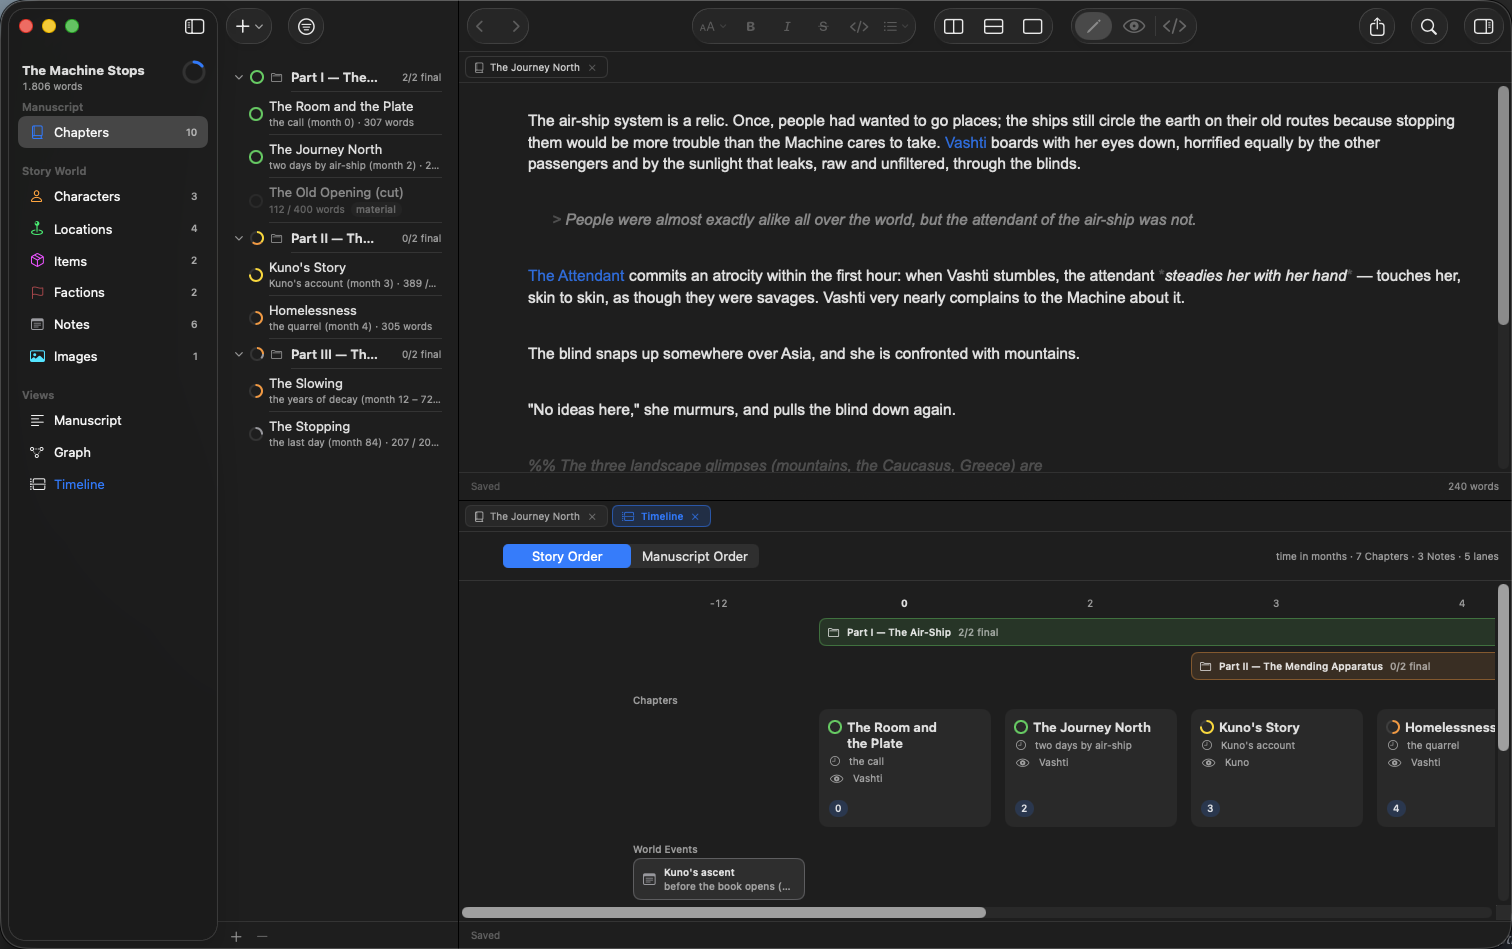
Splits nest: split right, then split the right half downward, and you have a chapter beside its outline above your notes. Drag the separator between two panes to change how they share the space. Close Editor ⌘⌥W removes the pane you're in, and closing a pane's last tab does the same.
Each pane carries its own word count and saved state in the bar along its bottom, and its own view mode — a reading preview on one side, live text on the other. The pane you're working in is the bright one; the others recede. Everything in the menu bar — formatting, saving, find — acts on that pane.
More than documents
Tabs aren't only for chapters. The Views in the sidebar open as tabs too:
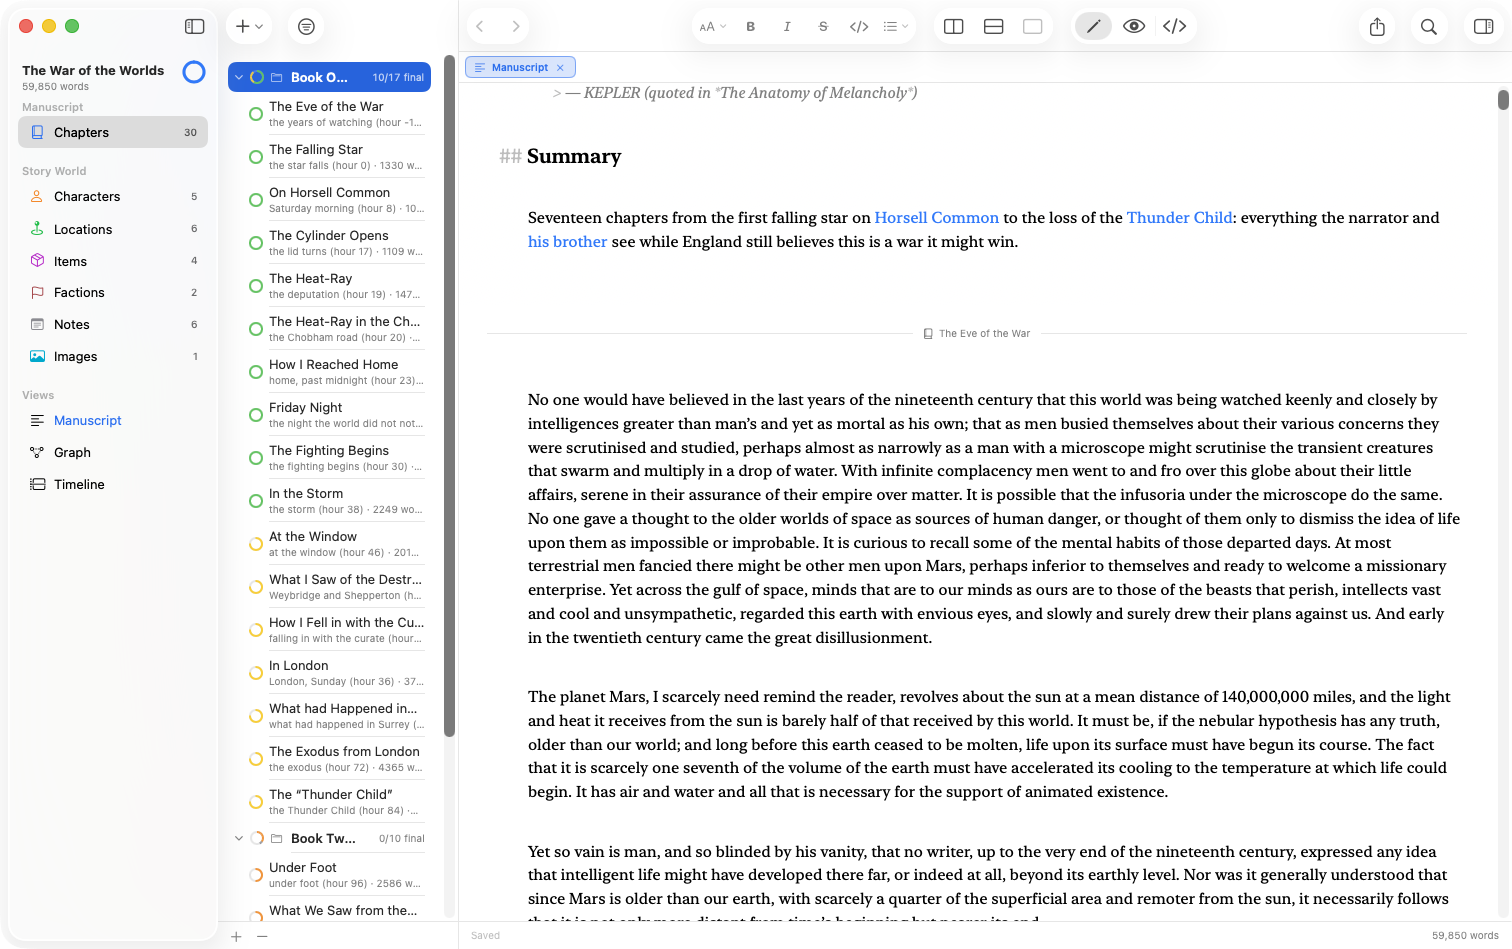
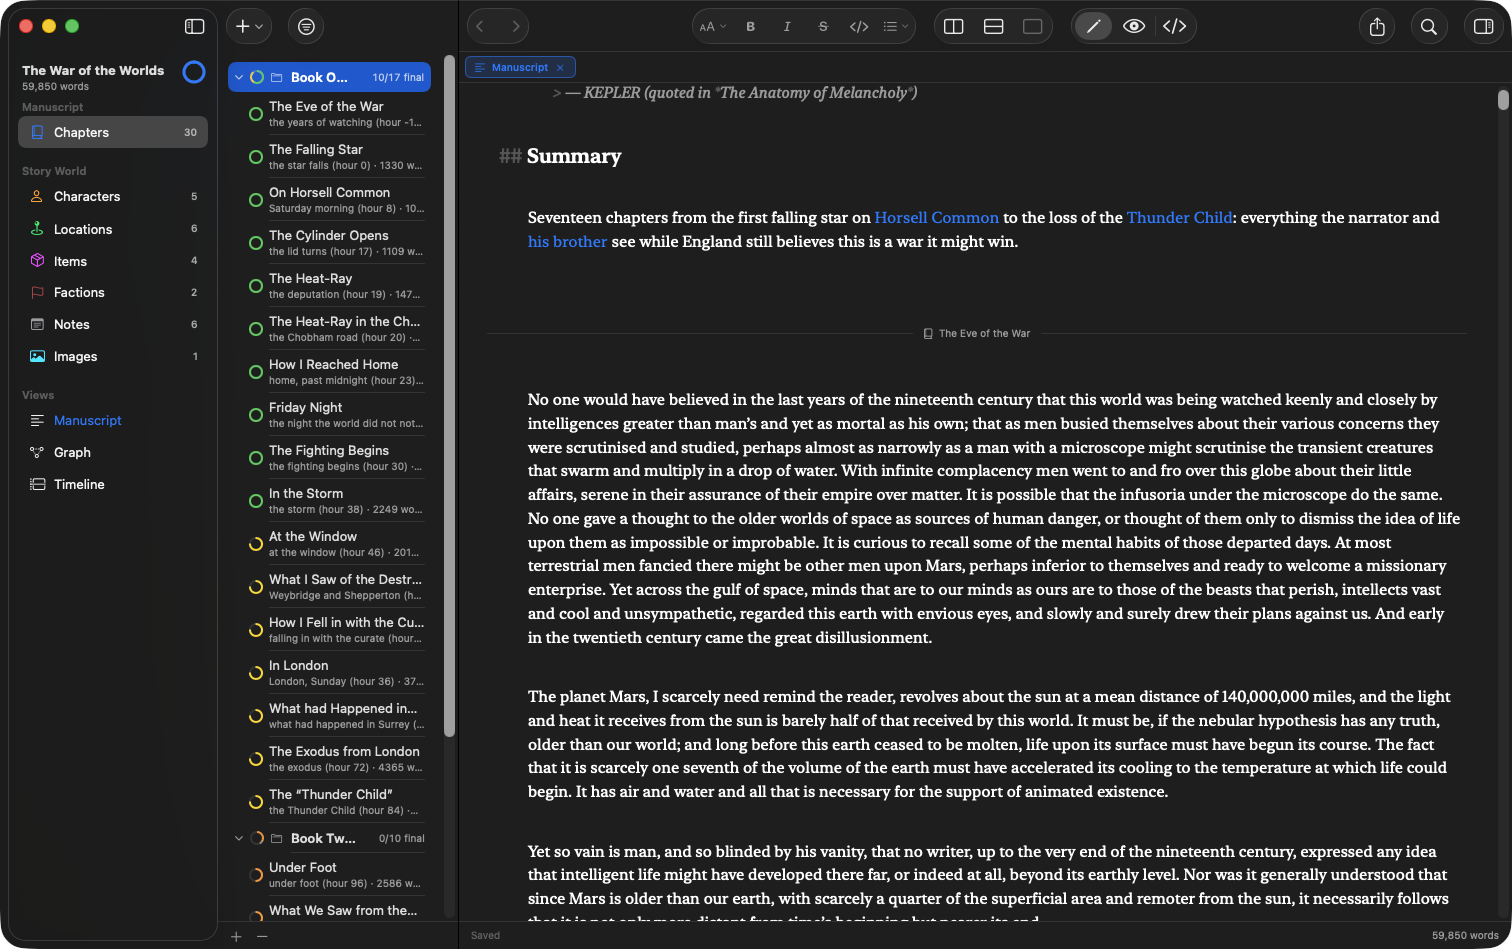
Manuscript — your whole manuscript as one flowing text, in reading order. A labeled divider marks where each document begins, so the boundaries stay visible while the text reads as one piece — and everything stays editable right there. Parts and groups appear too, in their place in the order: a part's own page is text you wrote, so you can read and edit it here exactly as it will export. As you scroll, the document on screen is highlighted in the list; click one in the list to jump the view to it.
Graph and Timeline — the whole-book views, now openable beside a chapter instead of taking the window over. Write with the timeline underneath and watch the shape of the book as you go.
It's remembered
Your panes and tabs are saved with the book — including how you sized them. Close it, come back next week, and the same documents are open in the same arrangement, with the separators where you left them.
Adding documents from your Mac
Drop a .md or .txt file into the editor to bring it into the book. Writingale asks what it should become — a chapter, a note, whatever type fits — creates it, and inserts a link to it right where you dropped the file. You can also drop files on the list or the sidebar; see Manuscript Structure.
Find
⌘F opens Find, ⌘⌥F Find & Replace — scoped to the current document. The same key in a graph or timeline tab searches that view instead. For questions about the whole book, see Search & Filtering.
Saving
You decide when your work goes to disk: File → Save ⌘S saves the document you're in, File → Save All ⌥⌘S saves everything at once. Until then, edits live safely in the app and are clearly marked — a * after the document's name in its tab, Edited in the pane's status bar, and a small dot next to changed documents in the lists (a category in the sidebar shows the dot when anything inside it has unsaved changes).
If you quit or close the book while something is unsaved, Writingale asks whether to save it all, discard, or stay.
The status bar also shows the word count — and the word count of just the selection while text is selected — with the cursor's line and column at its right end.