
Appearance
Timeline View
The timeline lays your story out against story time, counted in a unit you choose in Book Settings — hours for the example book, days or years for yours. 0 is the beginning of the book; negative values are backstory.
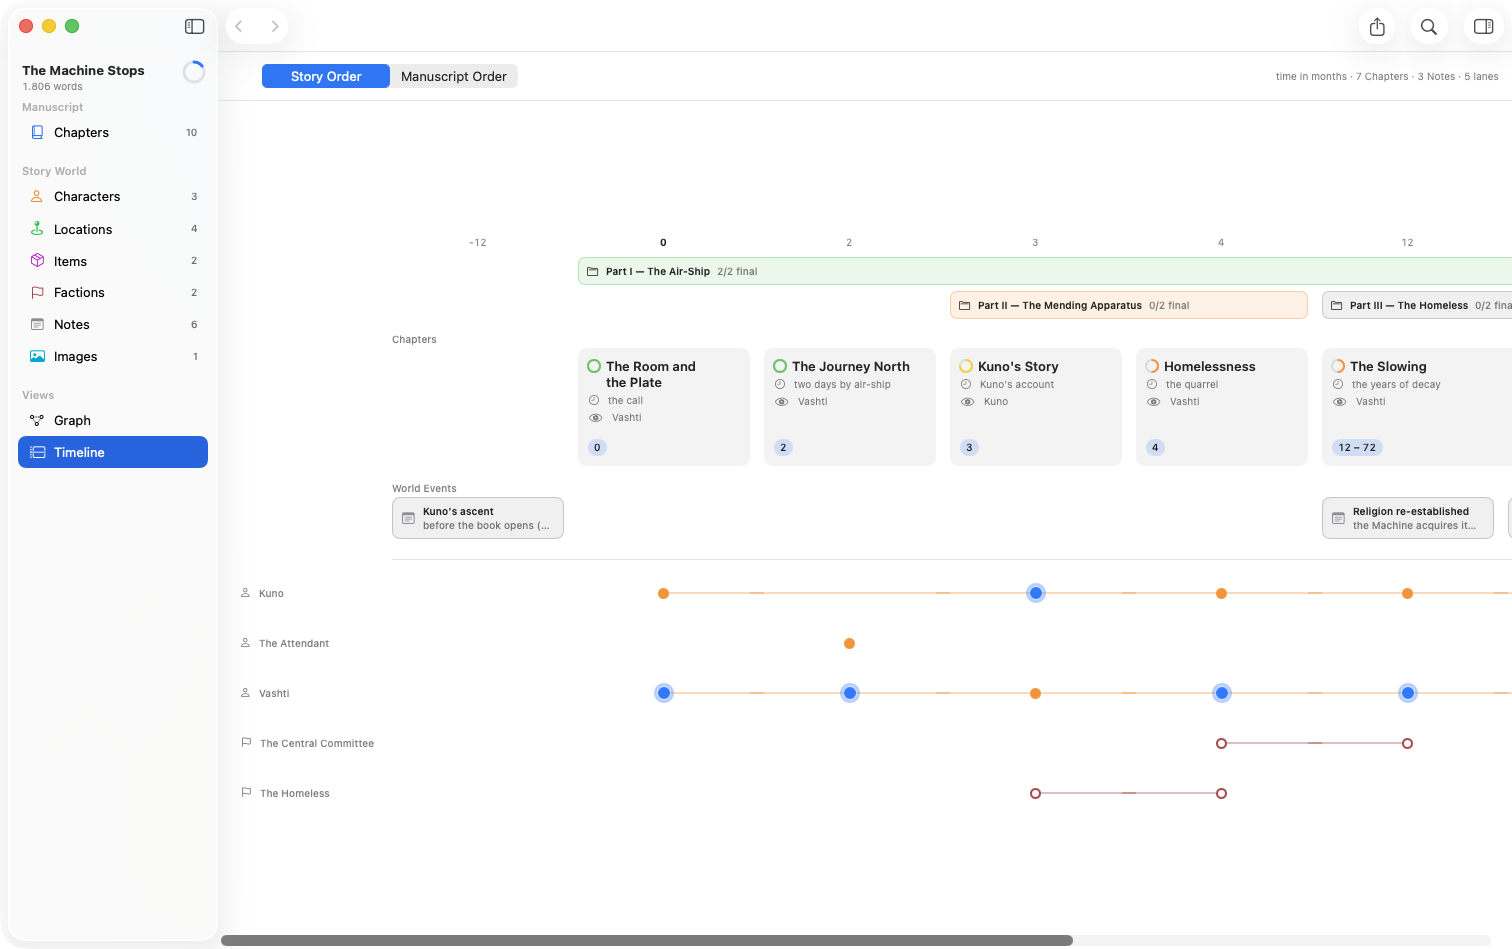
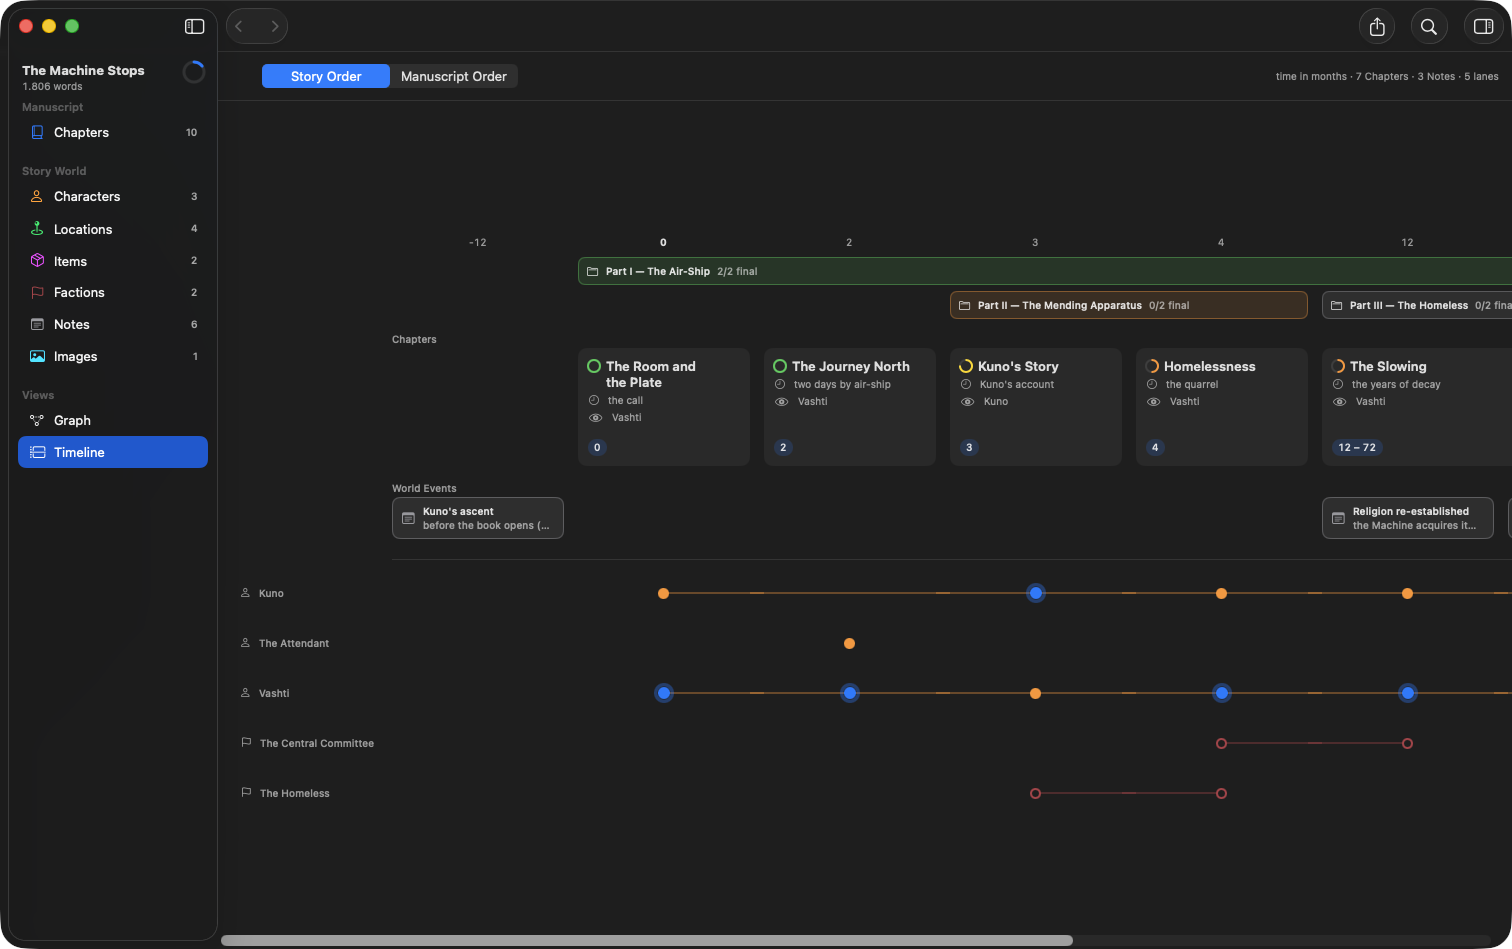
Open the timeline from Views in the sidebar and it appears as a tab in the editor — put it in a split and you can write with the shape of the book underneath you.
What you're seeing
- A scale, not a list. Distance along the board is elapsed time: a card starts where it starts and is as wide as it is long. Two chapters a day apart sit almost on top of each other; two a decade apart sit a decade apart.
- Container bands across the top — parts with their derived progress (
2/4 final), spanning the time their chapters cover. - Type rows — each kind of thing with a place in time gets a row; cards show the progress ring, the time label, and the POV character. Cards that would overlap stack.
- Named rows — a kind can have its own row (the example book's notes share a World Events row), and any single entity can be moved to a row of its own — so different strands of world history read as separate strips. The example book puts the narrator's chapters and his brother's on two rows, which is how you see that they happen at the same time rather than one after the other.
Row names stay pinned to the left edge as you scroll sideways, and so does what's written on a card: when a long span's left edge slides off screen, its title, progress ring and POV label slide along with the view rather than disappearing, stopping at the card's own right edge. A book-length board never becomes a row of anonymous bars.
- Journey lanes, held against the bottom of the view — one lane per character (or item), marking where along the axis they appear. They stay put however far you scroll down, because the question they answer is usually about whatever row you're looking at. They still slide sideways with the axis, so a marker always sits under the moment it belongs to. Scroll to the very end and the rows finish above them, so the lanes settle below the board instead of floating over it. See Journeys.
- An Unscheduled strip at the far right, holding chapters you haven't placed in time yet.
The example book's The gas jets on Mars sits at hours −1,440 to −1,200 — backstory, visible at a glance to the left of 0.
Skipped stretches
A book whose events cluster around a few moments would be mostly blank on a true scale. Where nothing at all happens for a long stretch, the timeline shortens the empty run and marks the break with two slanted rules on the ruler — the same shorthand a map uses for "the scale breaks here". Everything either side stays true to scale.
How long is "long" is up to you: Writingale → Settings → Timeline has a switch to turn shortening off entirely and a threshold, given as a share of the book's whole span. At 15% (the default), any empty run longer than a seventh of the book is shortened.
Choosing what shows


The chips at the left of the header are one per kind of thing that can appear on the board — chapters, characters, whatever your book defines. Switch one off and it leaves the board: hide the notes to see the chapters alone, or hide the chapters to look at world events on their own. A part's band goes with its chapters, since the band is only a summary of them.
The middle of the header switches story order and manuscript order; the right end reports what's on the board and holds the zoom buttons.
Focusing on one part
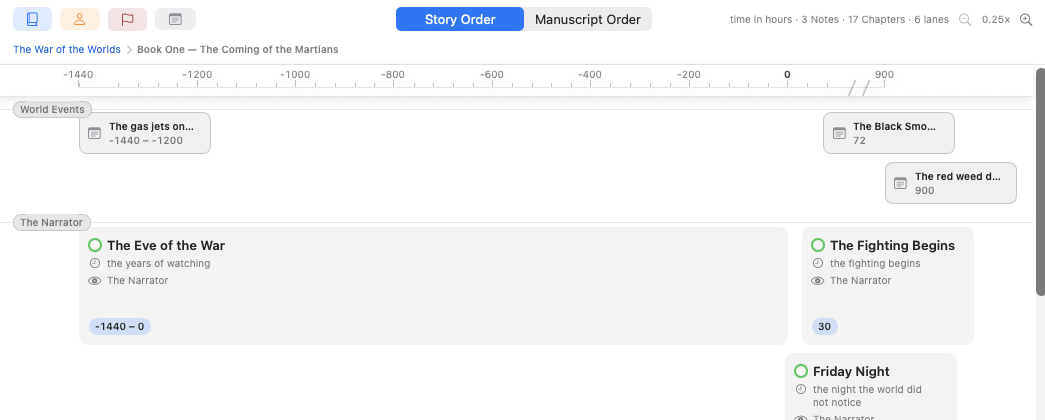
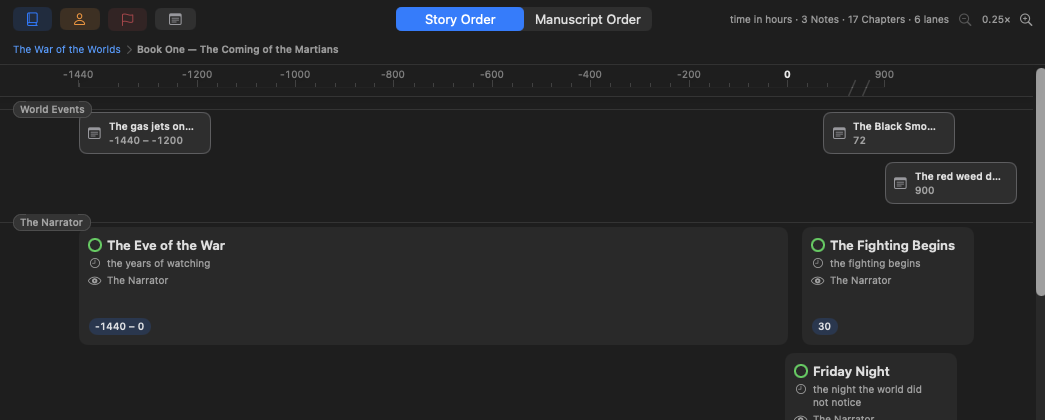
Double-click a part's band and the board narrows to that part: its chapters stay, the rest drop away, and the scale rebuilds to fit just those. It's how you look closely at three days in the middle of a book that spans years.
Events and character lanes stay put while you're focused — the world goes on around a part, and that's usually the point of looking. A breadcrumb row appears under the header, naming the book and every group on the way down; click any step to come back out.
While you're focused, the export sheet offers a Scope choice: the whole book, or just the part you're looking at.
Row order
The rows sort themselves — by the order your kinds are declared, then by first appearance. To fix an order of your own, open Book Settings → Row Order and move the rows with the arrows. Rows you don't list keep their automatic place after the ones you do, and a book you never touch stays automatic.
Giving the board more room
A card is never drawn narrower than it takes to read it, which means that at any given scale the narrowest card still covers a real stretch of story time. Chapters closer together than that crowd under one another, and there's no room to place them precisely.
The zoom buttons in the top-right corner are the way out: + doubles the board's width, so the same card width covers less time and the crowd spreads apart; − halves it to pull the whole book back into view. Each click keeps the moment at the centre of your view in place, and double-clicking the reading between the buttons goes back to 1×. Zoom is only offered in Story Order — the manuscript strip is evenly spaced by definition.
Rearranging by dragging
Everything on the board can be moved with the pointer, and nothing is written until you let go.
- Move a chapter or event in time — drag its card sideways in Story Order. The badge on the card counts along as you drag, so you can see where it will land before you commit.
- Change how long something lasts — in Story Order, grab a card's left or right edge and pull. The left edge moves the start, the right edge the end; the pointer turns into a resize arrow when you're on one.
- Move something to another row — drag its card up or down onto another row. A straight-down drag only changes the row; it won't nudge the time.
- Take something off the schedule — drag a card into the Unscheduled strip. Drag it back onto the board to give it a time again.
- Reorder the book — in Manuscript Order, drag a chapter card to a new place in reading order, or drag a whole part by its band to move it and every chapter under it at once. A blue rule shows where it will land. Nothing about time is editable in that order — it's where you set the order, and the positions aren't moments.
Changes made this way are edits like any other: the entity is marked unsaved until you save.
The glance panel
Clicking any timeline item — a card, a band, or a journey marker — shows it in the panel on the right: status, story time, POV, and the full text with every link readable. You can skim a chapter without leaving the timeline; the Open button jumps to it in the editor when you want to write. The panel is the same inspector you know from the editor — the toolbar's sidebar button and ⌘4 show and hide it.
Story order vs. manuscript order
The toggle at the top switches the horizontal arrangement:
- Story Order — position by story time, drawn to scale (the picture above).
- Manuscript Order — one even strip in reading order, numbered 1, 2, 3… Time plays no part in the positions here, which makes flashbacks and non-linear structure jump out: a chapter that sits late in the book but early in story time is a flashback, and here you can see it. This is also where you reorder the book.
Giving something a place in time
Drag it onto the board, or select it and fill in the inspector's Story Time section: From (required to appear on the timeline), an optional To for things that span time, a human-readable Label ("the last day"), and optionally a Row of its own. See the inspector.
Saving the timeline
With the timeline tab in front, Export writes it to a PDF — the whole board, however far it scrolls off screen, on a single page in whichever order you're viewing. See Exporting.